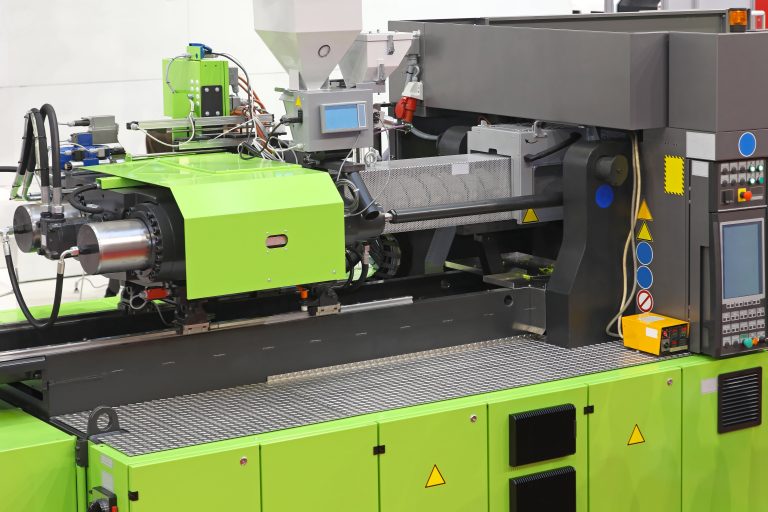
When you book the services of your preferred injection moulding expert, it stands to reason that you also gain access to their injection moulding machine. It is important that this machine is maintained correctly so that customers’ jobs can be processed without delay or disruption. A well-maintained injection moulding machine will also produce superior results when it comes to the quality of the finished products. Knowing the basics of how an injection moulding machine should be maintained will give customers a better understanding of what is involved in the process.
Looking After An Injection Moulding Machine
In order to maintain an injection moulding machine properly, there are a number of areas that need close attention. In particular, moving parts and moulds must be carefully managed and maintained. Here are some of the most important areas and ways to keep them working well.
‘Before And After’ Injection Moulding Machine Checklist
As with all pieces of equipment or machinery, prevention is very much better than cure. Drawing up a basic list of maintenance checks to be carried out before and after each use will help operators spot problems early. Issues can then be addressed and repairs carried out before things get too serious and the machine needs more significant attention. Make sure the shot counter is working correctly, as this will tell you when a more thorough service and maintenance is required. Creating checklists like this is also an essential part of keeping the operators safe and free from the risk of injury.
Surface Examination
Always check the surfaces on the injection moulding machine before and after use, especially the mould cavities. Look for foreign objects and contaminants, such as dust, debris or bits of plastic materials that have not been cleaned out correctly. Dust and debris can interfere with the mechanisms of the injection moulding machine. Foreign objects can also mix in with the new plastic being added to the machine, compromising final quality. Leaving unwanted items on surfaces can also cause the new plastic to seep into the parting area during the mould injection part of the process.
Deep Cleaning
As above, finding dust or debris on the surface of a finished injection moulded part can render that part unusable, thus wasting precious time, money and resources. Cleaning the mould cavity after every use prevents the build-up of contaminants like this. You can clean the moulds while in the machine or on the bench. Clearly, taking the party out of the machine completely will enable the operator to clean it more thoroughly. As a minimum, wipe the mould down with a standard degreasing agent or mild solvent. Use a cotton or other lint-free cloth to avoid leaving lint on the surface of the injection moulding machine.

Even Deeper Cleaning
If you have disassembled the parts in your injection moulding machine for a deeper clean, you can also use an ultrasonic bath (if appropriate) to get into harder-to-reach areas such as vents and cooling channels. You can also use compressed air to blow out dirt, dust and residual water. This should be done as soon as possible after cleaning to help dry the machine and avoid scale marks on polished surfaces. Pay particular attention to cooling channels when using compressed air, as water can get trapped inside very easily.
Inspecting Injection Moulding Machine Parts
Make sure to pay extra attention to the injection moulding machine’s moving or more intricate parts when cleaning or looking for damage etc. These include the mould runners, sprues, gates and vents. The plastic entry gate can be particularly susceptible to damage through wear and tear. Examine mould connectors and hardware, such as water hoses, pipes and threads to ensure there are no leaks. Look at the bolts to make sure they are properly fastened, and check all over for signs of warping or rust that could impede production.
Post-Maintenance Jobs
If the injection moulding machine is being placed in storage for a while, making sure that it is totally dry is even more important. Moisture and residual water can cause rust and scale stains, as well as corrosion if the mould is sealed. Even if you are simply setting the machine up for the next job, take time to log the maintenance and cleaning that you have done, along with the date and time. This will help you and others understand the service history of a machine and pinpoint when any faults are discovered and fixed.

